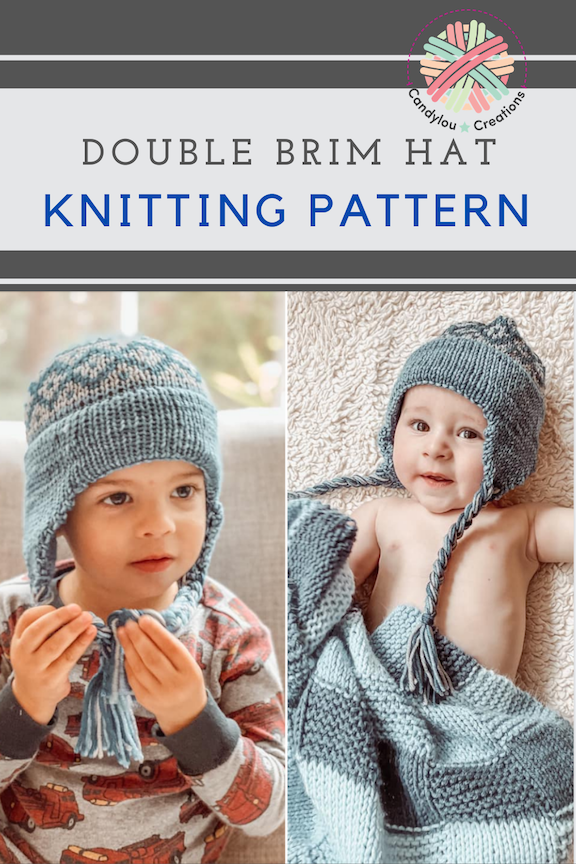
Knitting a Double Brim
Ear Flap Hat Knitting Pattern
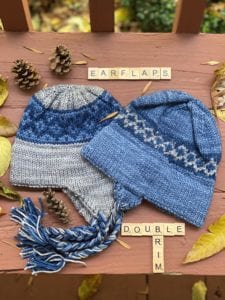
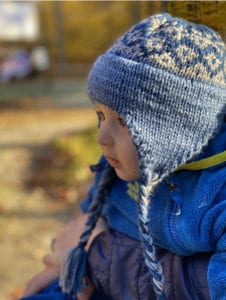
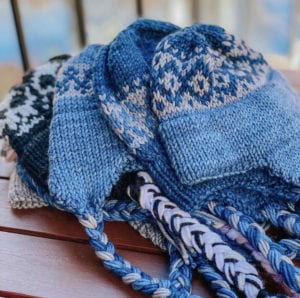
Double Brim Ear Flap Hat Knitting Pattern
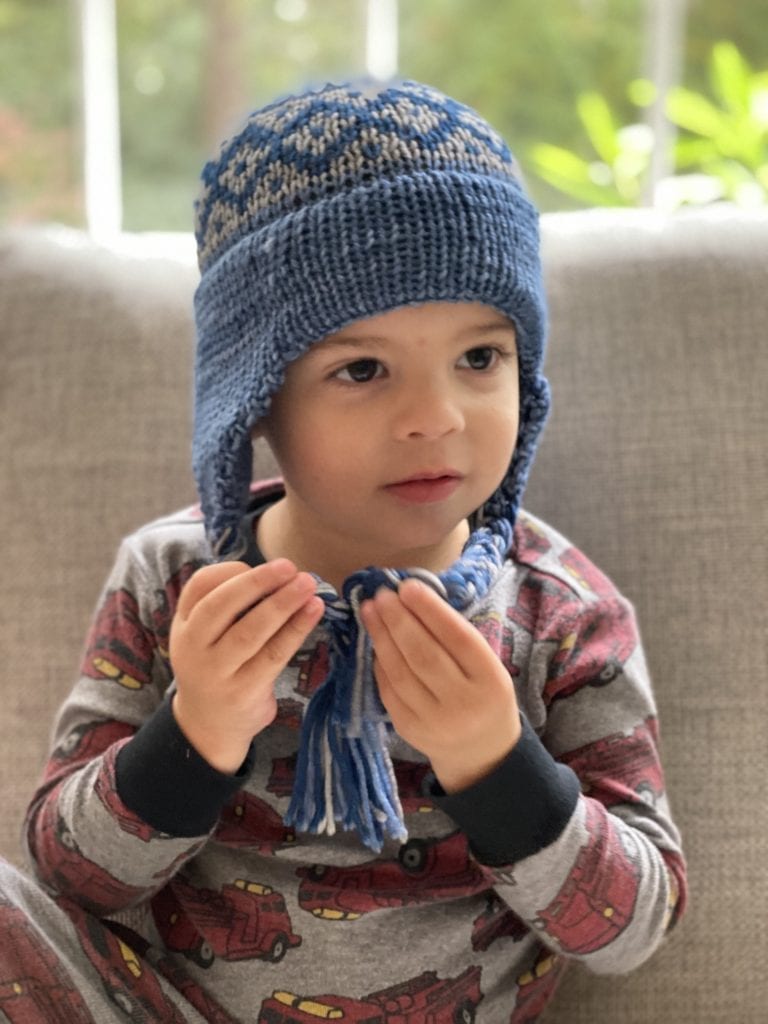
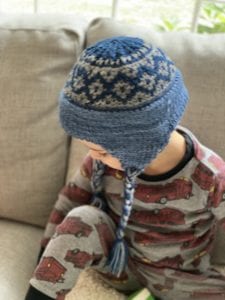
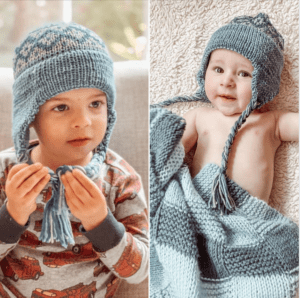
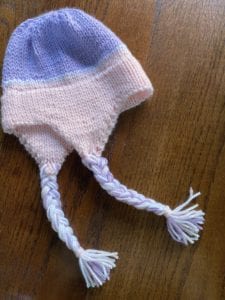
If you’d like to learn how to knit a double brim ear flap hat, then here is a fun, quick knitting pattern. The brim is lined so it is doubly warm. The flaps are quickly done in short rows and the hat is knit all in one piece. The braids will help keep the hat on or simply hang down for some style. Add a pompom if you want to and you are done!
Read on to find out how I knit this fun hat!
 This post contains affiliate inks, meaning that if you choose to click through and make a purchase, I will receive a small commission at no cost to you and helps support this site. Thank you!
Related Post → Biddeford Baby Blanket and Hat
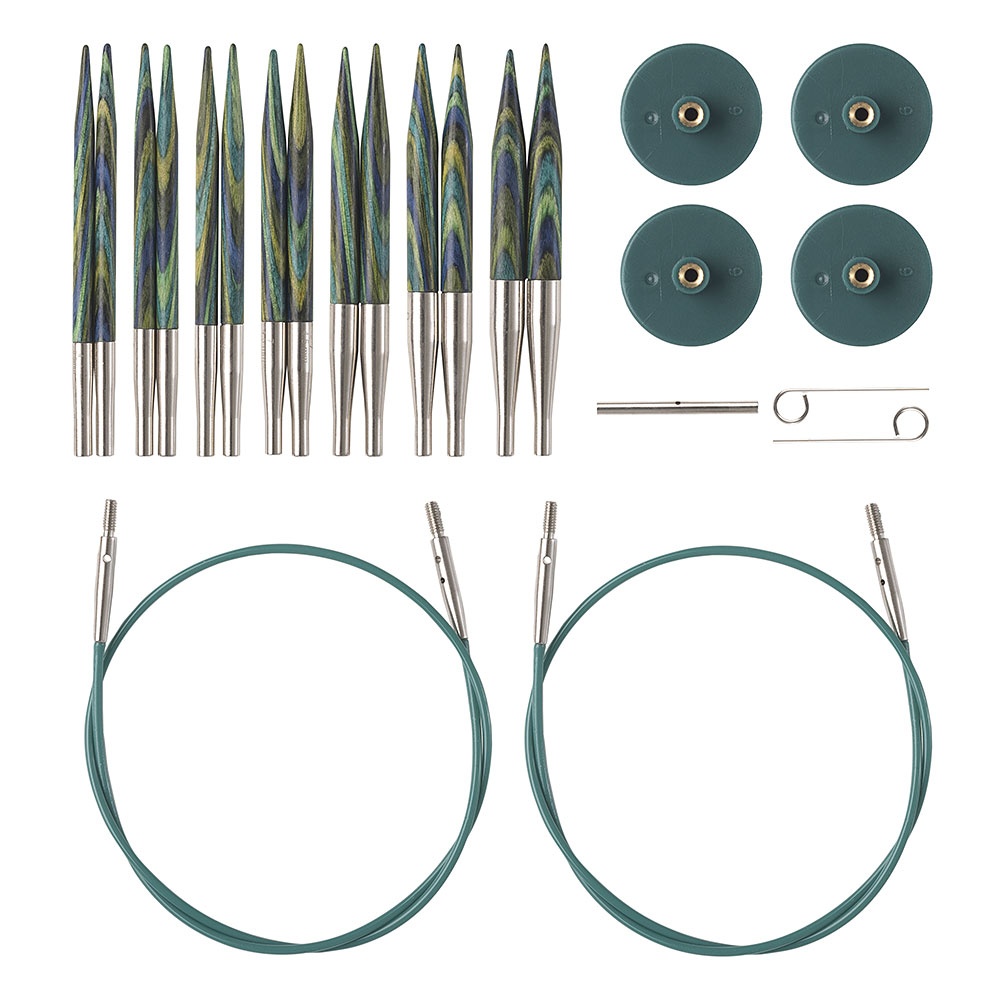
Needles
Knitpicks Caspian Options Short Interchangeable Circular Set
Size 7 and 8 needles with a 16″ cord and a gauge of 18 stitches per 4 inches for the Malabrigo yarn. Check your gauge!
Note: I am a very loose knitter and so I used size 4 and 5 needles to get this gauge. Gauge is very important!

Related Post → The Blake Hat
Pattern
Assuming Aran weight yarn, 4″ = 18 stitches: Gauge is important! Swatch first or it may not fit.
For sizes child/teen/adult:
With size 7 needle cast-on 64/80/88 stitches. Place marker and join.
Brim Lining and Ear flaps
First you will knit the inside lining of the double brim, then the ear flaps which are worked in short rows.
Knitting in the round, work approximately 2/2.5/2.75”
Begin working the first ear flap as follows:
P6/7/8
K15/19/21, turn.
Next Row: P 15/19/21, turn.
Next Row: K 14/18/20, turn.
Continue working short rows, working 1 less stitch on each row, until 2/4/4 knit stitches remain.
Next Row: P 2/4/4, turn.
Next Row: K 3/5/5, turn.
Continue in rows working 1 more stitch at the end of each row, ending last row with K 15/19/21.
Now the first ear flap is done.
Continuing on:
P 22/27/30
K15/19/21, turn.
Work second ear flap the same as first ear flap on 15/19/21 stitches just worked.
Continuing on, P 6/8/8 to the end of round.
Work in stockinette until the same depth as lining.
Join the Lining of the Brim
Pick up 64/80/88 stitches from the original cast on with the smaller needle. Join to main body of the hat by knitting one stitch off of each of the left needles.
Knit 2 rows
Increase by 4-6 stitches to get to the number of stitches you need to knit a chart:
Change to needles one size up from the one you are using and knit 1 more row.
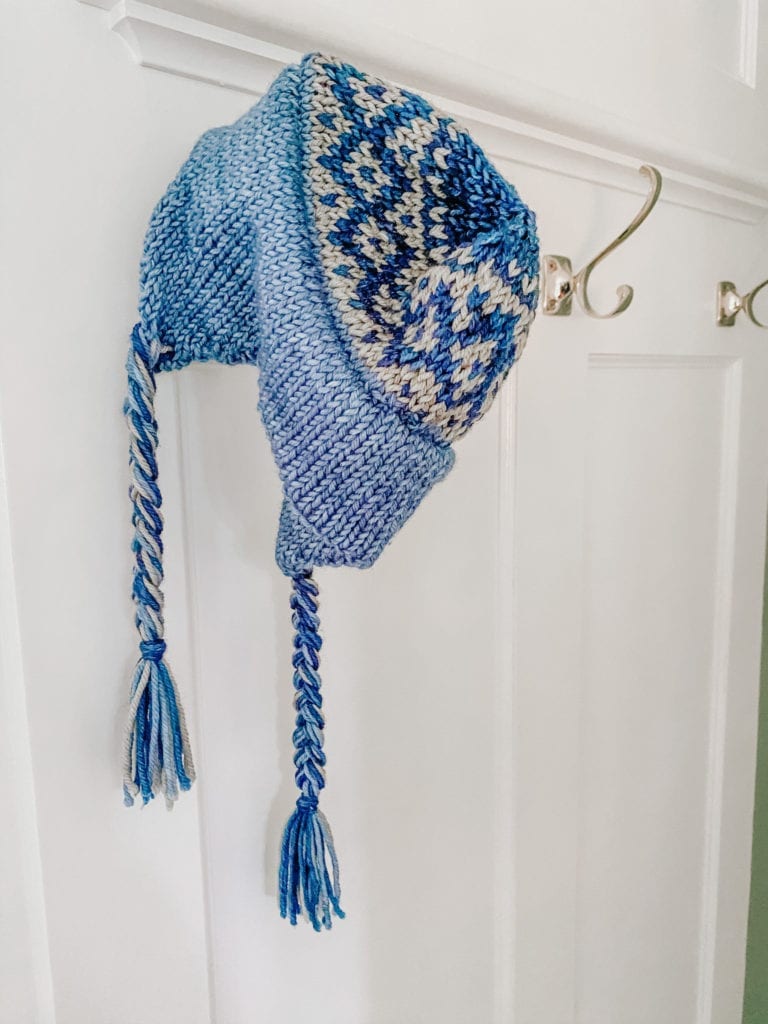
Knit any chart: (I have used both of these)
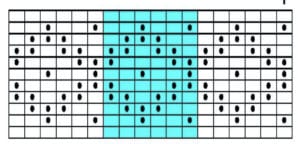
Skull chart:

Continue knitting until the hat measures 6/7/7.5” from folded edge.
Shape Crown
Note: Change to double pointed needles when there are no longer enough stitches to work on circular needle.
Decrease Round: K8/9, K2tog
Straight round: K
Next Round: K7/8, K2tog
Knit
Next Round: K6/7, K2tog
Knit
Continue decreasing every other round until 8 stitches remain. Pull tail through remaining stitches to secure and weave in all ends.
Braids
To make each braid, measure 12 lengths of yarn that are 18” each. Divide the lengths into 3 groups of 4 and using a tapestry needle with a large eye, thread them over the center stitches at the bottom of the ear flap. Braid each until approximately 2” remain. Using sewing thread and needle, stitch the yarn so that it is secure. Take a foot of yarn and wrap it around, making sure it is secure. Trim the end of the braid so the tassel is even.
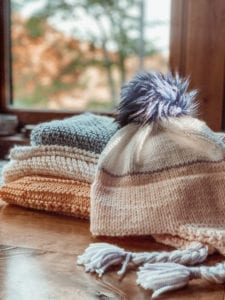
Pompom
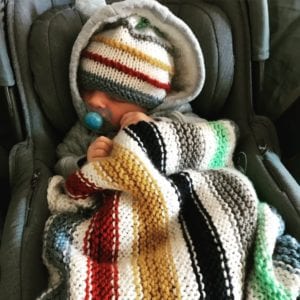
The pompom shown in the top photo is from Etsy: faux fur pompoms
It is also fun to make your own yarn pompoms. I like to use the Knitpicks Clover Pompom Maker. For help use this guide.
I hope you enjoy knitting this fun hat!
-
- baby/toddler – 72 stitches with Malabrigo Rios
-
- left hat – 80 stitches, right hat 72 stitches
-
- teen – 80 stitches with I Love This Yarn
-
- 10 mth old – 64 stitches i love this yarn
-

- 88 stitches with malabrigos rios, no earflaps, no braids
Pin it!