Knitting the Lined Nordic Hat

Knitting a Nordic Lined Pompom Hat
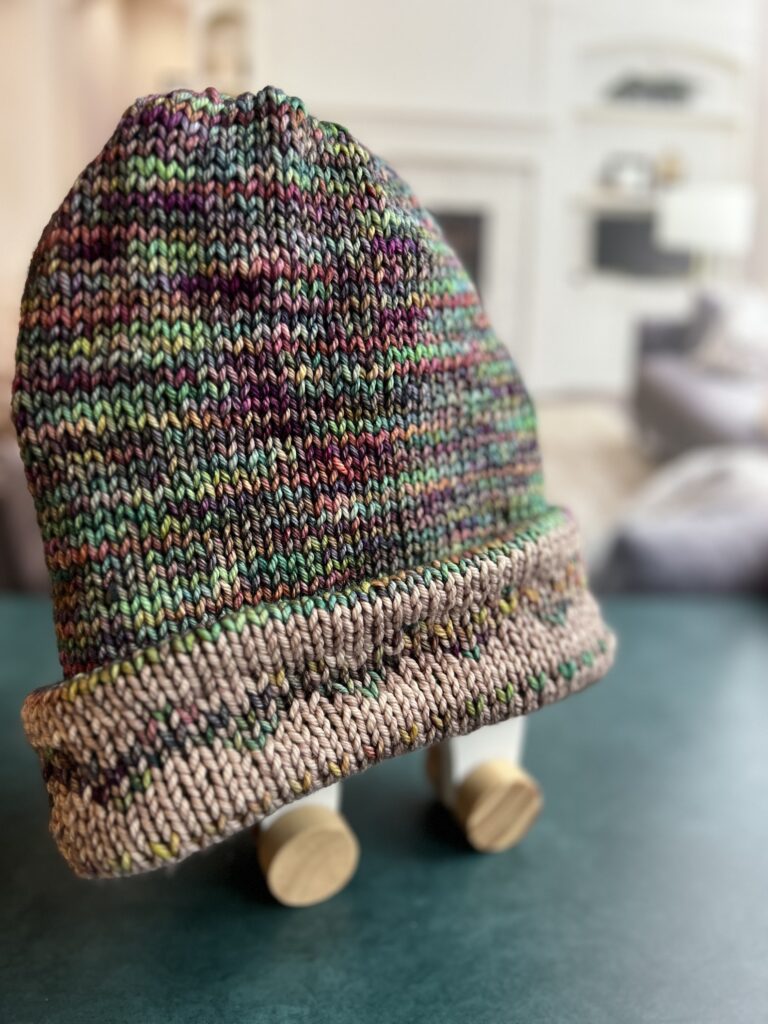
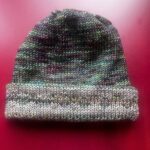
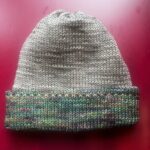
Are you looking to add a touch of nordic style to your winter wardrobe? Then you’re in luck! Here is a great free knitting pattern for a simple and warm nordic styled hat with a fair isle design and a pompom to top it off. Lined for extra warmth, this hat is sure to keep you cozy all winter long.
To get started, you’ll need a set of US 7 and US 9 knitting needles and 2 skeins of yarn in your desired colors.
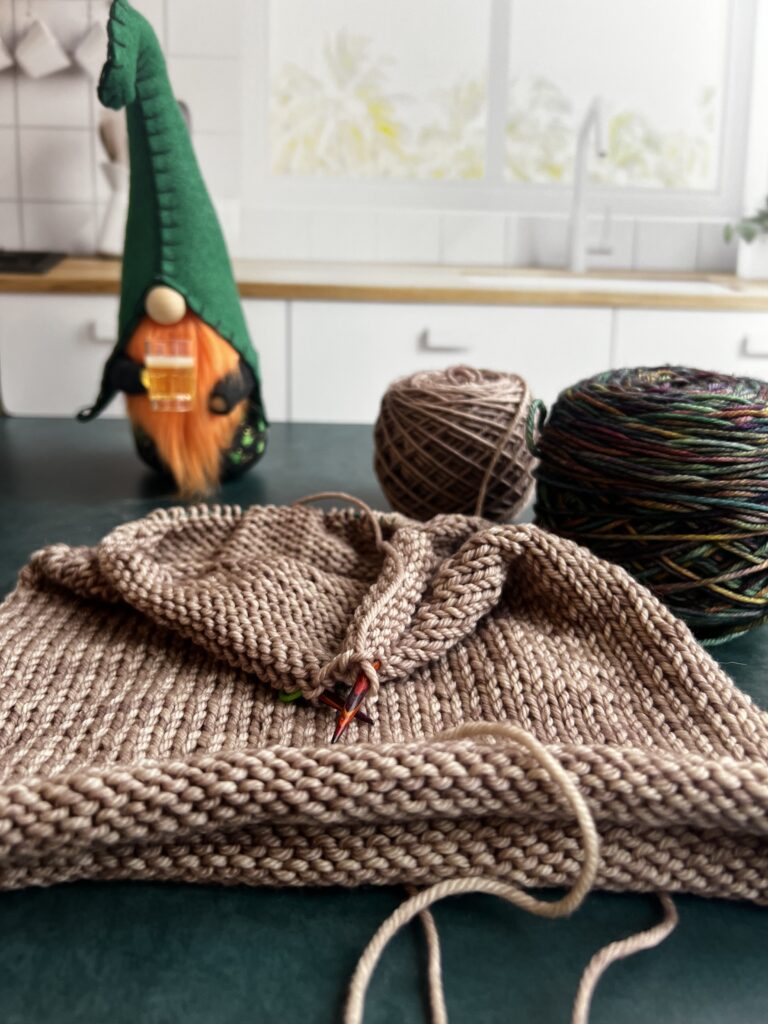
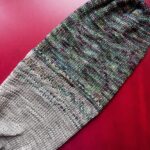
Begin by knitting the lining first with the smaller needles by casting on the number of stitches required for your head size below. Knit until the hat is 2″ shorter than your desired length and change to the larger needles. Then, follow the Fair Isle pattern instructions to create the main body of the hat. You will knit the decreases as described below. Then you will pick up stitches from the cast on edge and make the same decreases you used for the outside of the hat.
Finally, tuck the inside of the hat into the outside hat and sew them together by attaching a pompom. Fold up the brim for extra warmth and you’re all set!
This post contains affiliate inks, meaning that if you choose to click through and make a purchase, I will receive a small commission at no cost to you and helps support this site. Thank you!
Skill Level → Advanced Beginner with a knowledge of fair isle knitting
Skills to know ↓
Yarn
For this project I bought my yarn on ETSY:
Malabrigo Rio Arco Iris
Malabrigo Rio Sand Bank
The yarn is 100% superwash Merino Wool, worsted weight
Related Post → Biddeford Baby Blanket and Hat

Needles
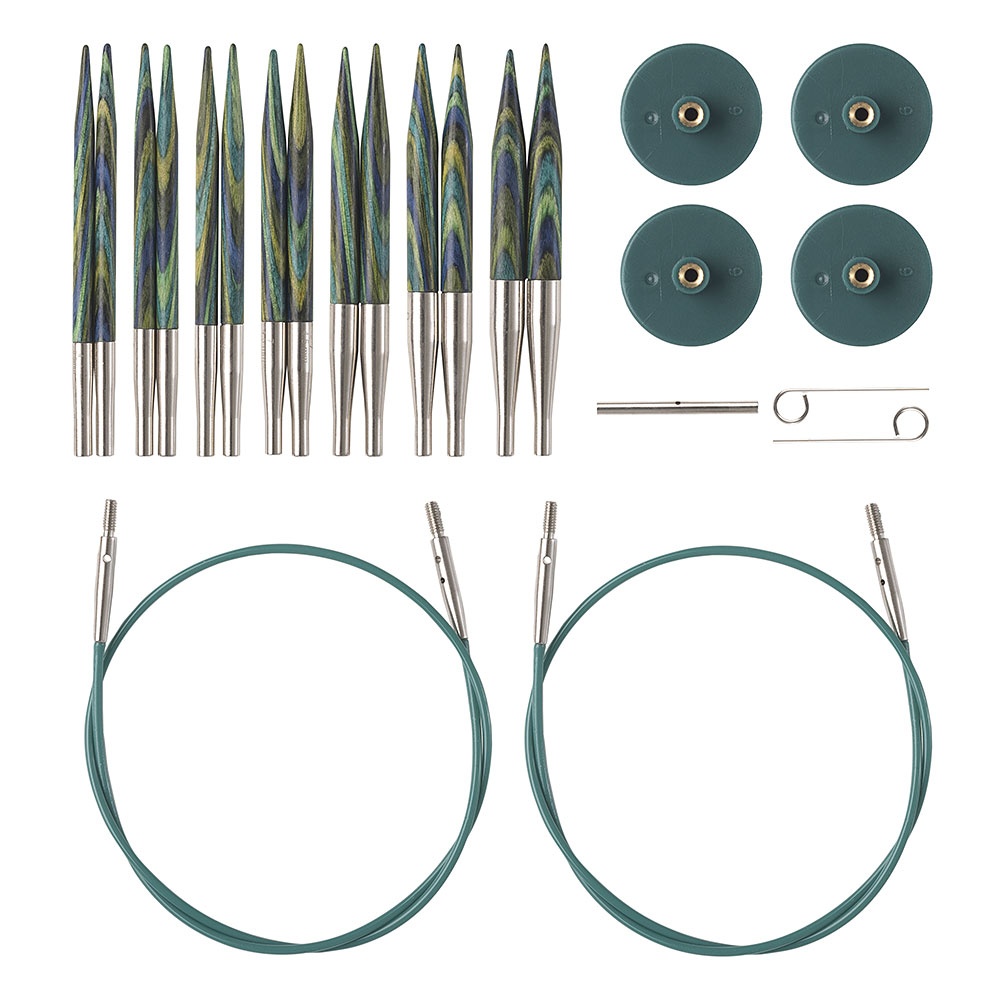
Knitpicks Caspian Options Short Interchangeable Circular Set
Size US7 (stockinette) and US9 (fair isle) needles with a 16″ cord and a gauge of 18 stitches = 4 inches

Related Post → The Boston Kid Beanie
Pattern
The Nordic Hat
MC = Sand (one color)
CC = Iris (variegated yarn)
With size 7 needles and MC cast on 76/82/88 stitches
Join for knitting in the round.
This is the lining of the hat. Continue until the lining measures 7/8/9 inches.
Body of hat
If you want to add a little fair isle design:
Change to size 9 needles
Knit a row in MC
K1 MC, K1 CC
Knit 2 rows MC
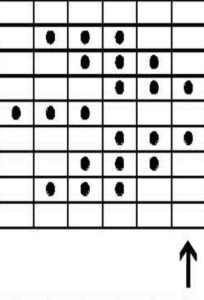
Begin zigzag chart:
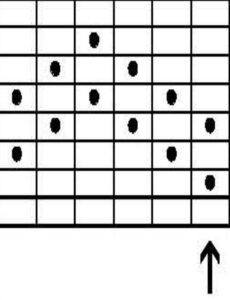
Written directions for chart:
Row 1: With MC, Knit around
Row 2: [K1 CC, K5 MC]* and continue * to end of round
Row 3: [K1 MC, K1CC, K3MC, K1CC]* and continue * to end of round
Row 4: [K1 CC, K1 MC]* and continue * to end of round
Row 5: [K1MC, K1 CC]*and continue * to end of round
Row 6: [K2 MC, K1 CC, K1MC, K1 CC, K1 MC]*and continue * to end of round
Row 7: K3 MC, K1CC, K2 MC]* and continue * to end of round
Row 8: With MC, Knit around
Next section:
With MC: Knit 2 rows
With CC: Knit 1 row
With MC: Knit 1 row
With CC: Knit 1 row
With MC: Knit 2 rows
Begin Arrow Chart:
Written directions for chart:
Row 1: With MC, Knit around
Row 2: [K2MC, K3CC, K1MC]* and continue * to end of round
Row 3: [K1MC, K3CC, K2MC]* and continue * to end of round
Row 4: [K3CC, K3MC]* and continue * to end of round
Row 5: [K3MC, K3CC]* and continue * to end of round
Row 6: [K1MC, K3CC, K2MC]* and continue * to end of round
Row 7: [K2MC, K3CC, K1MC]* and continue * to end of round
Row 8: Row 1: With MC, Knit around
Next section:
Change back to size 7 needles
With MC: Knit 3 rows
With CC: Knit 1 row
With MC: Knit 1 row
With CC: Knit 1 row
With MC: Knit 2 rows
Continue knitting around until the hat (including the lining) measures 16/17/18 inches
Begin Decreases
(switch to double points or magic loop if need be)
Row 1: [K4, K2tog] til the end of round
Row 2: Knit
Row 3: [K3, K2tog] til the end of round
Row 4: Knit
Row 5: [K2, K2tog] til the end of round
Row 6: Knit
Row 7: [K1, K2tog] til the end of round
Row 8: Knit
Row 9: [K2tog] til the end of round
Cut yarn leaving a 10″ tail
Thread yarn through remaining stitches, pull tight. Secure stitches and weave in ends.
Line the Hat
Pick up the stitches of the cast on edge. Knit a row.
Begin decreases as above:
(switch to double points or magic loop if need be)
Row 1: [K4, K2tog] til the end of round
Row 2: Knit
Row 3: [K3, K2tog] til the end of round
Row 4: Knit
Row 5: [K2, K2tog] til the end of round
Row 6: Knit
Row 7: [K1, K2tog] til the end of round
Row 8: Knit
Row 9: [K2tog] til the end of round
Cut yarn leaving a 10″ tail
Thread yarn through remaining stitches, pull tight. Secure stitches and weave in ends.
Finally, tuck the lining into the main body of the hat and secure to the top by sewing on a pompom, or leave the pompom off and turn the hat inside out for a completely different look!
Pompom
My faux fur pompoms come from Etsy.
It is also fun to make your own yarn pompoms. I like to use the Knitpicks Clover Pompom Maker. For help use this guide.
I hope you enjoy knitting this fun hat!
Pin it!